Painting new plaster is a job that calls for a bit of patience, careful attention, and a sprinkle of skill. Whether you’re sprucing up an old home or adding the final touches to a new build, learning how to paint new plaster can really make a difference between a beautiful result and one that falls short. If your project involves painting plaster it’s time for you to dive into the details of painting new plaster, covering everything from preparation to the final stroke.
Understanding New Plaster
Before you start getting too involved learning about the painting process, you need to understand the nature of new plaster. Fresh plaster is a highly alkaline material that contains significant moisture. All of this moisture needs to evaporate completely before painting can begin, a process known as curing. How long curing takes depends on the thickness of the plaster and environmental conditions. On average most plaster cures within 4 to 6 weeks, sometimes it will take longer.
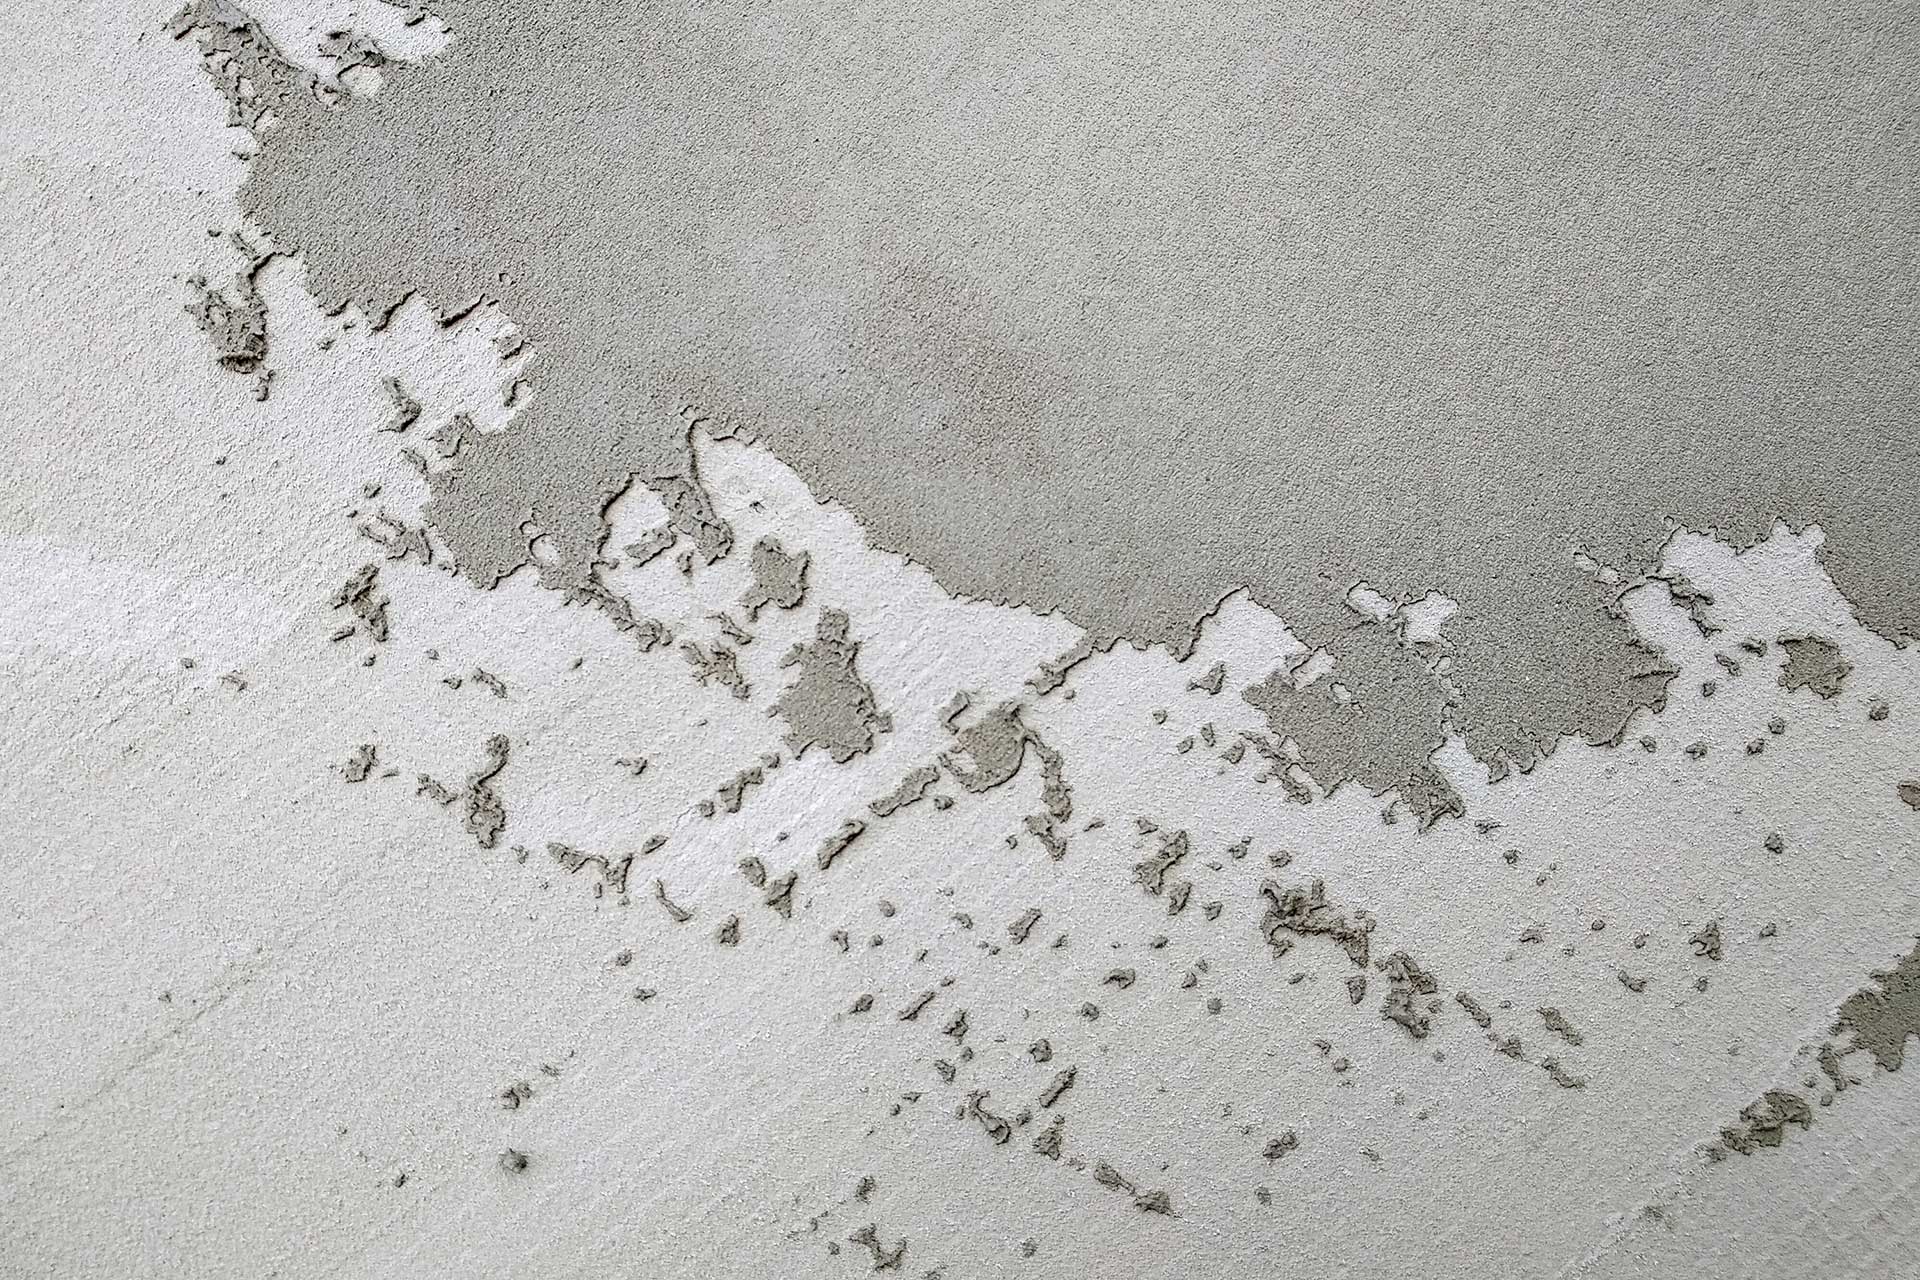
While the plaster is curing, it goes through some chemical changes as it dries and hardens. Painting too soon before the plaster has completely cured can cause all sorts of issues, like peeling paint, discoloration, and even harming the plaster itself. Patience is indeed a virtue when it comes to painting new plaster.
Preparation Leads to Success
Once your plaster has cured, proper preparation is essential for achieving a flawless finish. You want to begin your preparation by thoroughly inspecting the surface for any imperfections. Small cracks or holes can be filled with a fine surface filler, while larger defects may require replastering. Sand the filled areas gently to ensure a smooth, even surface.
After you are done sanding, you need to clean the entire plastered area to remove any dust and debris. A soft brush or vacuum with a brush attachment works well for this purpose. For stubborn marks or stains, a damp cloth can be used, but be cautious not to saturate the plaster with water.
Sealing the Deal
One of the most important steps of painting new plaster is sealing the surface. New plaster is highly porous and will absorb paint unevenly if not properly sealed. This can result in patchy, uneven color and excessive paint consumption.
When it comes to sealing new plaster, you have several options. A popular choice is to use a mist coat, which is essentially a diluted mixture of emulsion paint and water. Mix one part emulsion paint with three to four parts water to create a thin, milky consistency. Apply this mist coat evenly across the plaster surface, allowing it to soak in and dry completely. This seals the plaster and helps to identify any remaining imperfections that may need attention.
Another choice you have is to use a purpose-made plaster sealer or primer. People choose this product as it is made to penetrate plaster and seal it, which gives you the best base for painting. When using these products, be sure to carefully follow the directions given by the maker.
Choosing the Right Paint
If you want a durable and attractive finish, you need to make sure you are using the right paint on your new plaster. Water-based emulsion paints are generally the best choice for newly plastered walls. They allow the plaster to continue breathing, which is important as any residual moisture needs to escape.
Most people use a matte or flat paint as these finishes help hide minor imperfections. However, if you’re painting a high-traffic area or a room prone to moisture you want to use a paint with a slight sheen for better durability and ease of cleaning.
When selecting your paint colours, it’s a good idea to think about lighting conditions and how you plan to use the room. Light colours can make a space feel larger and brighter. While darker hues can create a cozy, intimate atmosphere. Always test your chosen color on a small area of the plaster to ensure you’re happy with the result before committing to the entire surface.
The Painting Process
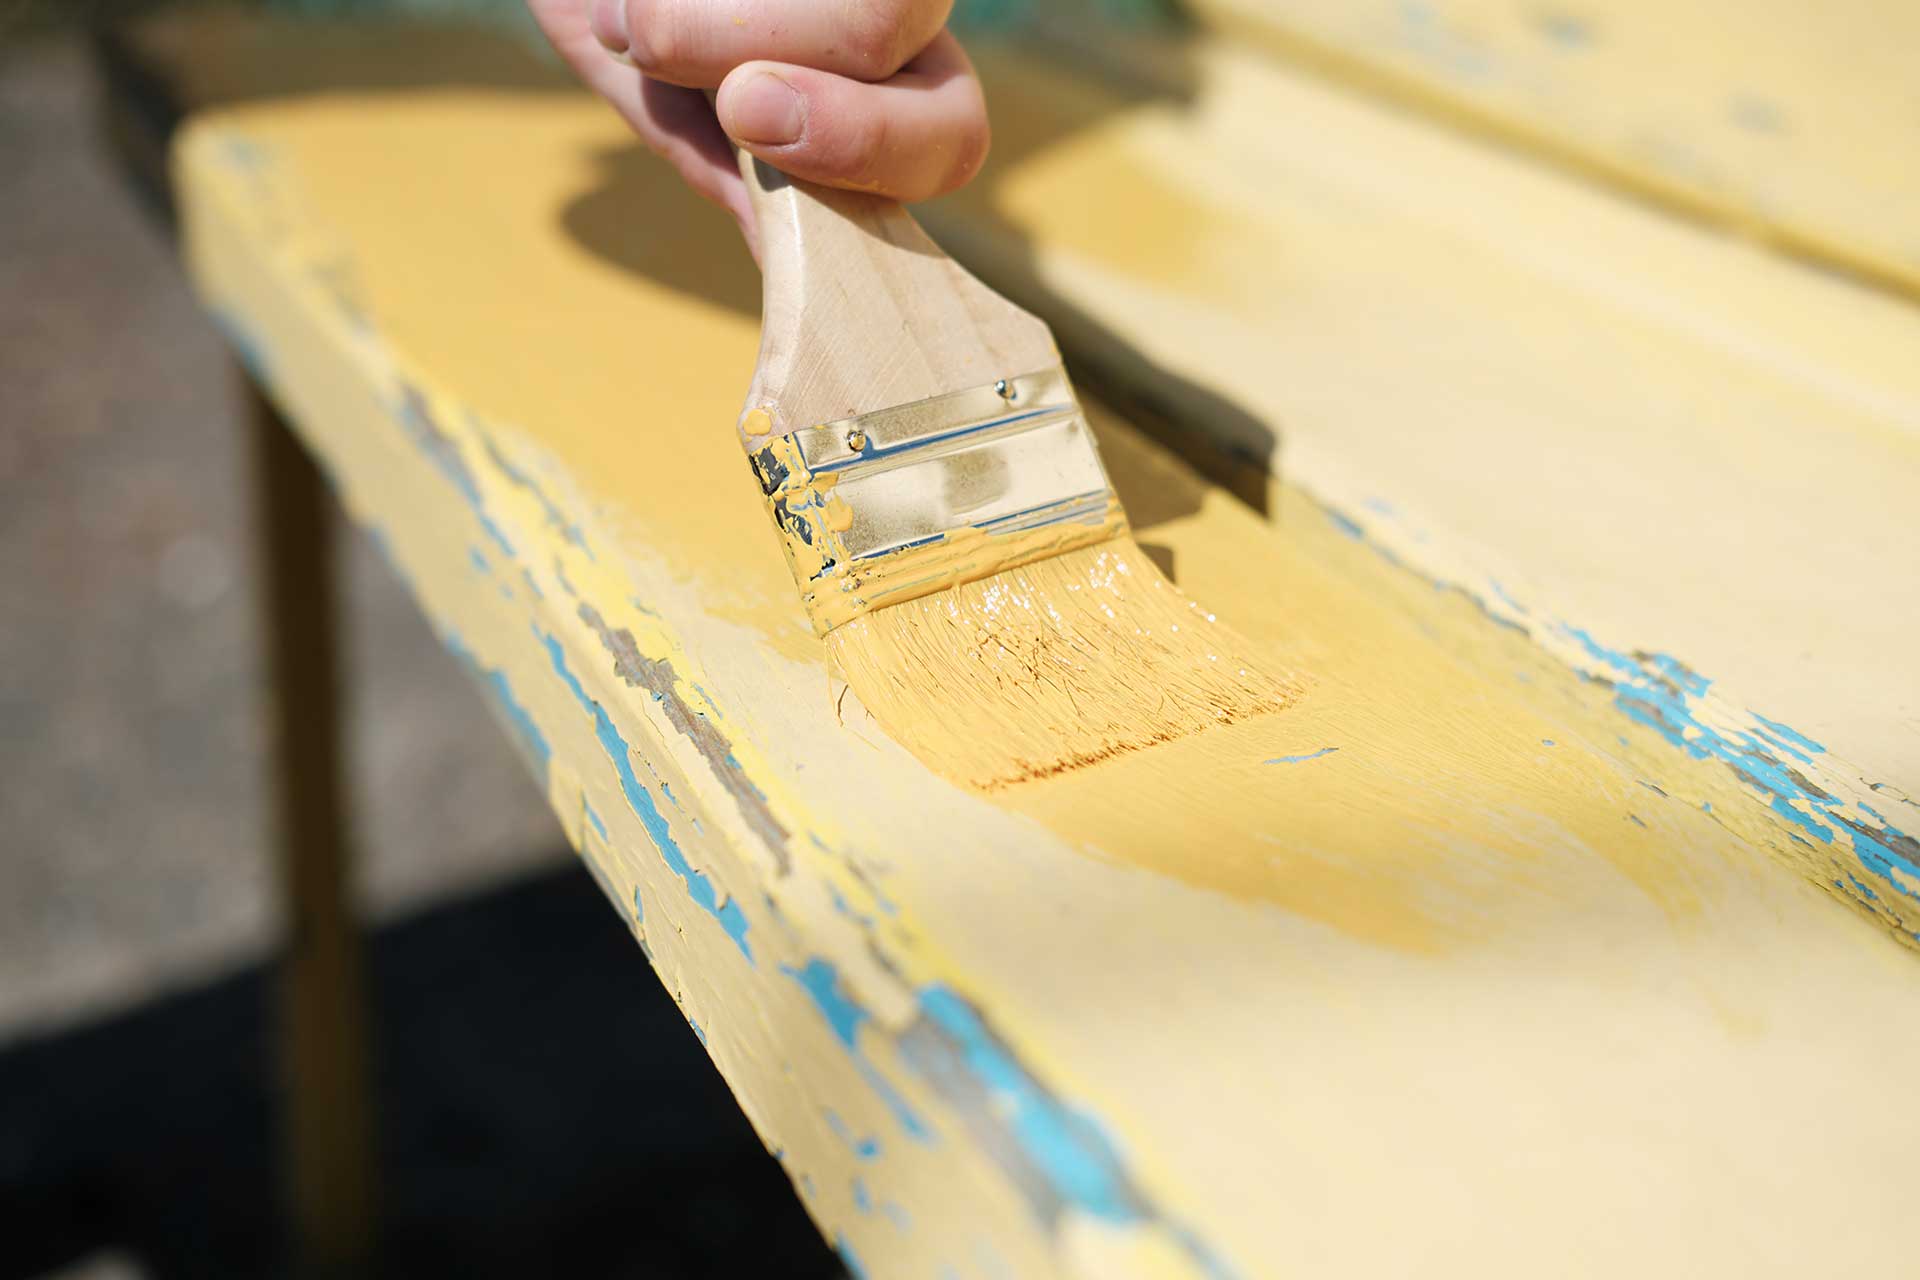
With all the preparation complete, it’s finally time to paint. Start by cutting in around the edges of the walls with a brush, creating a border of about 2-3 inches. Cutting in helps create neat edges and makes rolling the rest of the wall a breeze, preventing any accidental paint on the ceiling or nearby walls.
For the main areas, use a roller for quick and even coverage. Choose a medium-pile roller for smooth plaster surfaces. Load the roller evenly with paint and apply it in a “W” or “M” pattern, then fill in the gaps. Painting in this pattern helps to distribute the paint evenly and avoid roller marks.
Apply thin, even coats rather than one thick layer. Thin coats work to minimize drips and allows each coat to dry properly. Most walls will require at least two coats for optimal coverage and color depth. Allow each coat to dry completely before applying the next, following the manufacturer’s recommended drying times.
Finishing Touches
After applying the final coat and allowing it to dry, you want to take a step back and inspect your work in good lighting. You want to look for any spots missing paint, unevenness, or imperfections. Small touch-ups can make a big difference in the overall finish.
If you’re wanting a smooth finish, you might consider lightly sanding between coats. This can help to eliminate any slight texture left by the roller and create an ultra-smooth surface. Just be sure to clean off any dust before applying the next coat.
Maintaining Your Newly Painted Plaster
After all your hard work, you’ll want to keep your newly painted plaster looking its best. Avoid cleaning the painted surface for at least two weeks after painting to allow the paint to fully cure. Once cured, you can clean the walls gently with a soft, damp cloth when needed. Avoid harsh cleaning products that could damage the paint finish.
Watch for any signs of moisture issues, like peeling paint or discoloration, particularly in spots that tend to get damp. Addressing these issues promptly can prevent more extensive damage to both the paint and the underlying plaster.
Conclusion
Painting new plaster requires a lot of patience and a good eye for detail. But it’s totally worth it when you see the final result. By getting to know the quirky traits of new plaster, prepping the surface like a pro, picking the perfect materials, and applying them with a sprinkle of finesse, you can create a stunning, durable finish that makes your space look like a million bucks—without the million-dollar price tag!
Just remember, it’s super important to take your time with each step, whether that’s letting the plaster cure or waiting for the paint to dry all the way. Hurrying through any step can really mess up the final outcome.

