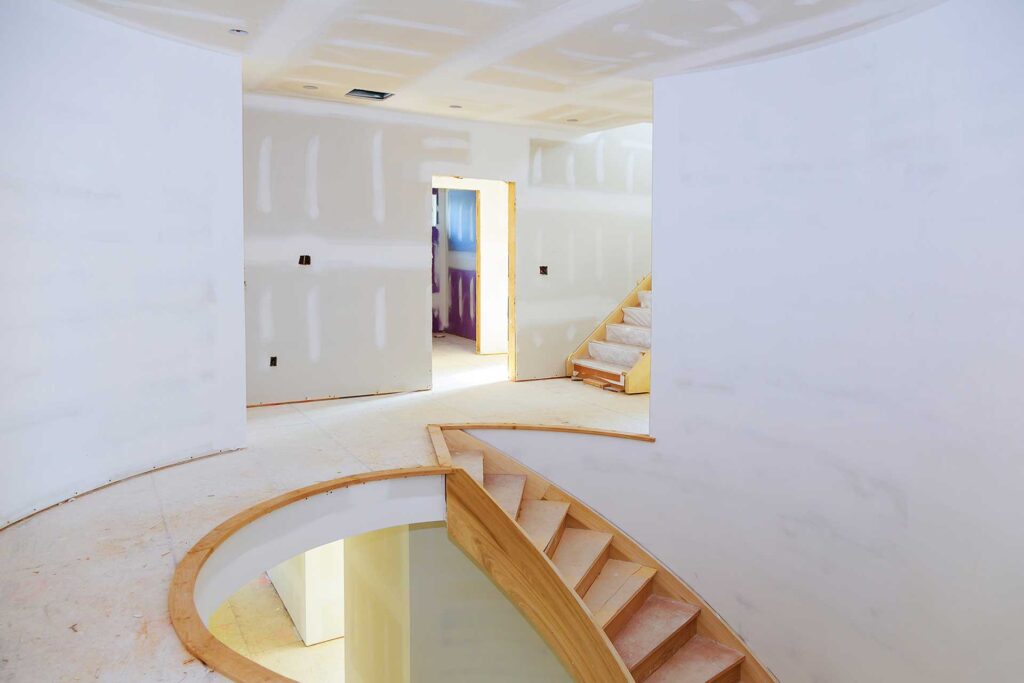
Plasterboard, aka drywall or gypsum board, is a common building material used for the interior walls in many construction projects. Its smooth surface and ease of installation make it a popular choice for walls and ceilings. Drywall’s plain, unfinished appearance is not supposed to be left bare, its designed to be painted. Plus, painting it can dramatically transform the look and feel of a room. Whether you are dealing with new construction or just a small remodel it’s important for you to learn about the process of painting plasterboard, from preparation to the final touches.
Understanding Plasterboard
Before we start talking more about the painting process, it’s important that you understand the nature of plasterboard. This material consists of a gypsum core sandwiched between two layers of heavy paper. While it’s sturdy enough for everyday use, plasterboard is super porous and can absorb even the smallest amount of moisture. If you want your painting job to be successful, then you must make sure you take the necessary time to properly prepare your drywall.
Preparation is The Key to a Professional Finish
The secret to achieving a flawless finish on plasterboard lies in thorough preparation. You want to start by ensuring the plasterboard is completely dry and free from any moisture issues. For newly installed drywall you should let it dry for at least a week before you start painting it.
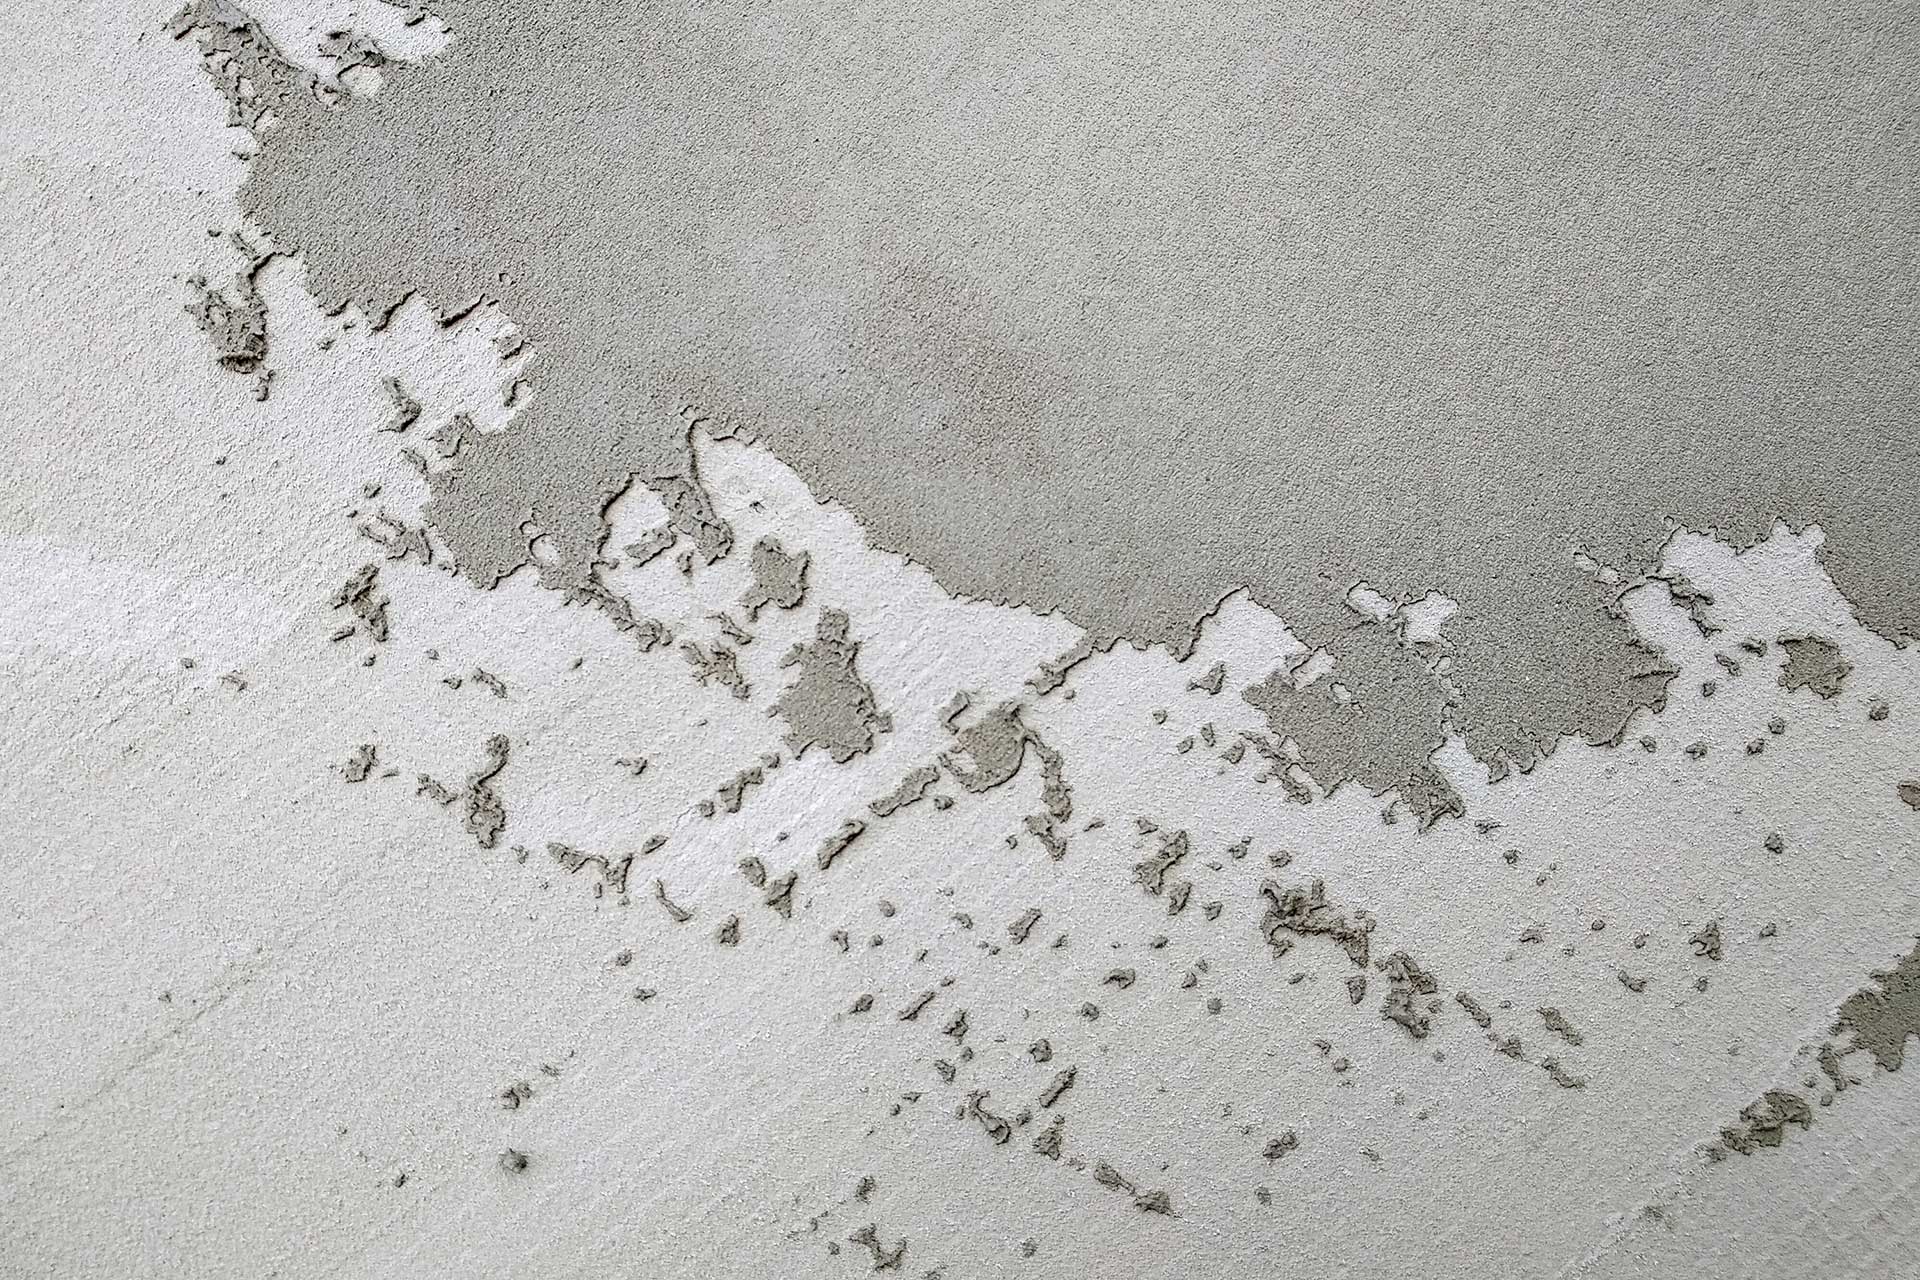
Next, you need to carefully inspect the surface for any imperfections. Fill any small holes or dents with a suitable filler and sand the patches smooth once the filler is dry. For larger damages or seams between boards, you want to use tape and joint compound. After the joint compound has dried you want to carefully sand the area to create a seamless surface. Not all damage can be fixed with a single application, check the drywall to see if the surface is smooth and even. If it’s not, apply a second coat of joint compound, allow to dry, and then sand again.
Dust is a good paint job’s worst enemy. If you want your paint job to turn out, you need to be sure to clean the entire surface thoroughly. A vacuum with a brush attachment works great for removing loose particles. But vacuuming alone is not enough it needs to be followed by a wipe-down with a slightly damp cloth to catch any remaining dust.
Priming: A Crucial Step
Priming is an often overlooked but critical step in painting plasterboard. A quality primer serves multiple purposes when it comes to drywall. Primer not only seals the porous surface, but it also provides better adhesion for the paint. Using a primer basecoat helps to achieve a uniform colour, which is especially important when making dramatic colour changes.
Make sure you choose a primer specifically designed for plasterboard. These primers are formulated to seal the surface effectively and provide a stable base for your paint. When applying the primer use a roller for large areas and a brush for edges and corners to ensure it is applied evenly. Allow it to dry completely before moving on to painting.
Choosing the Right Paint
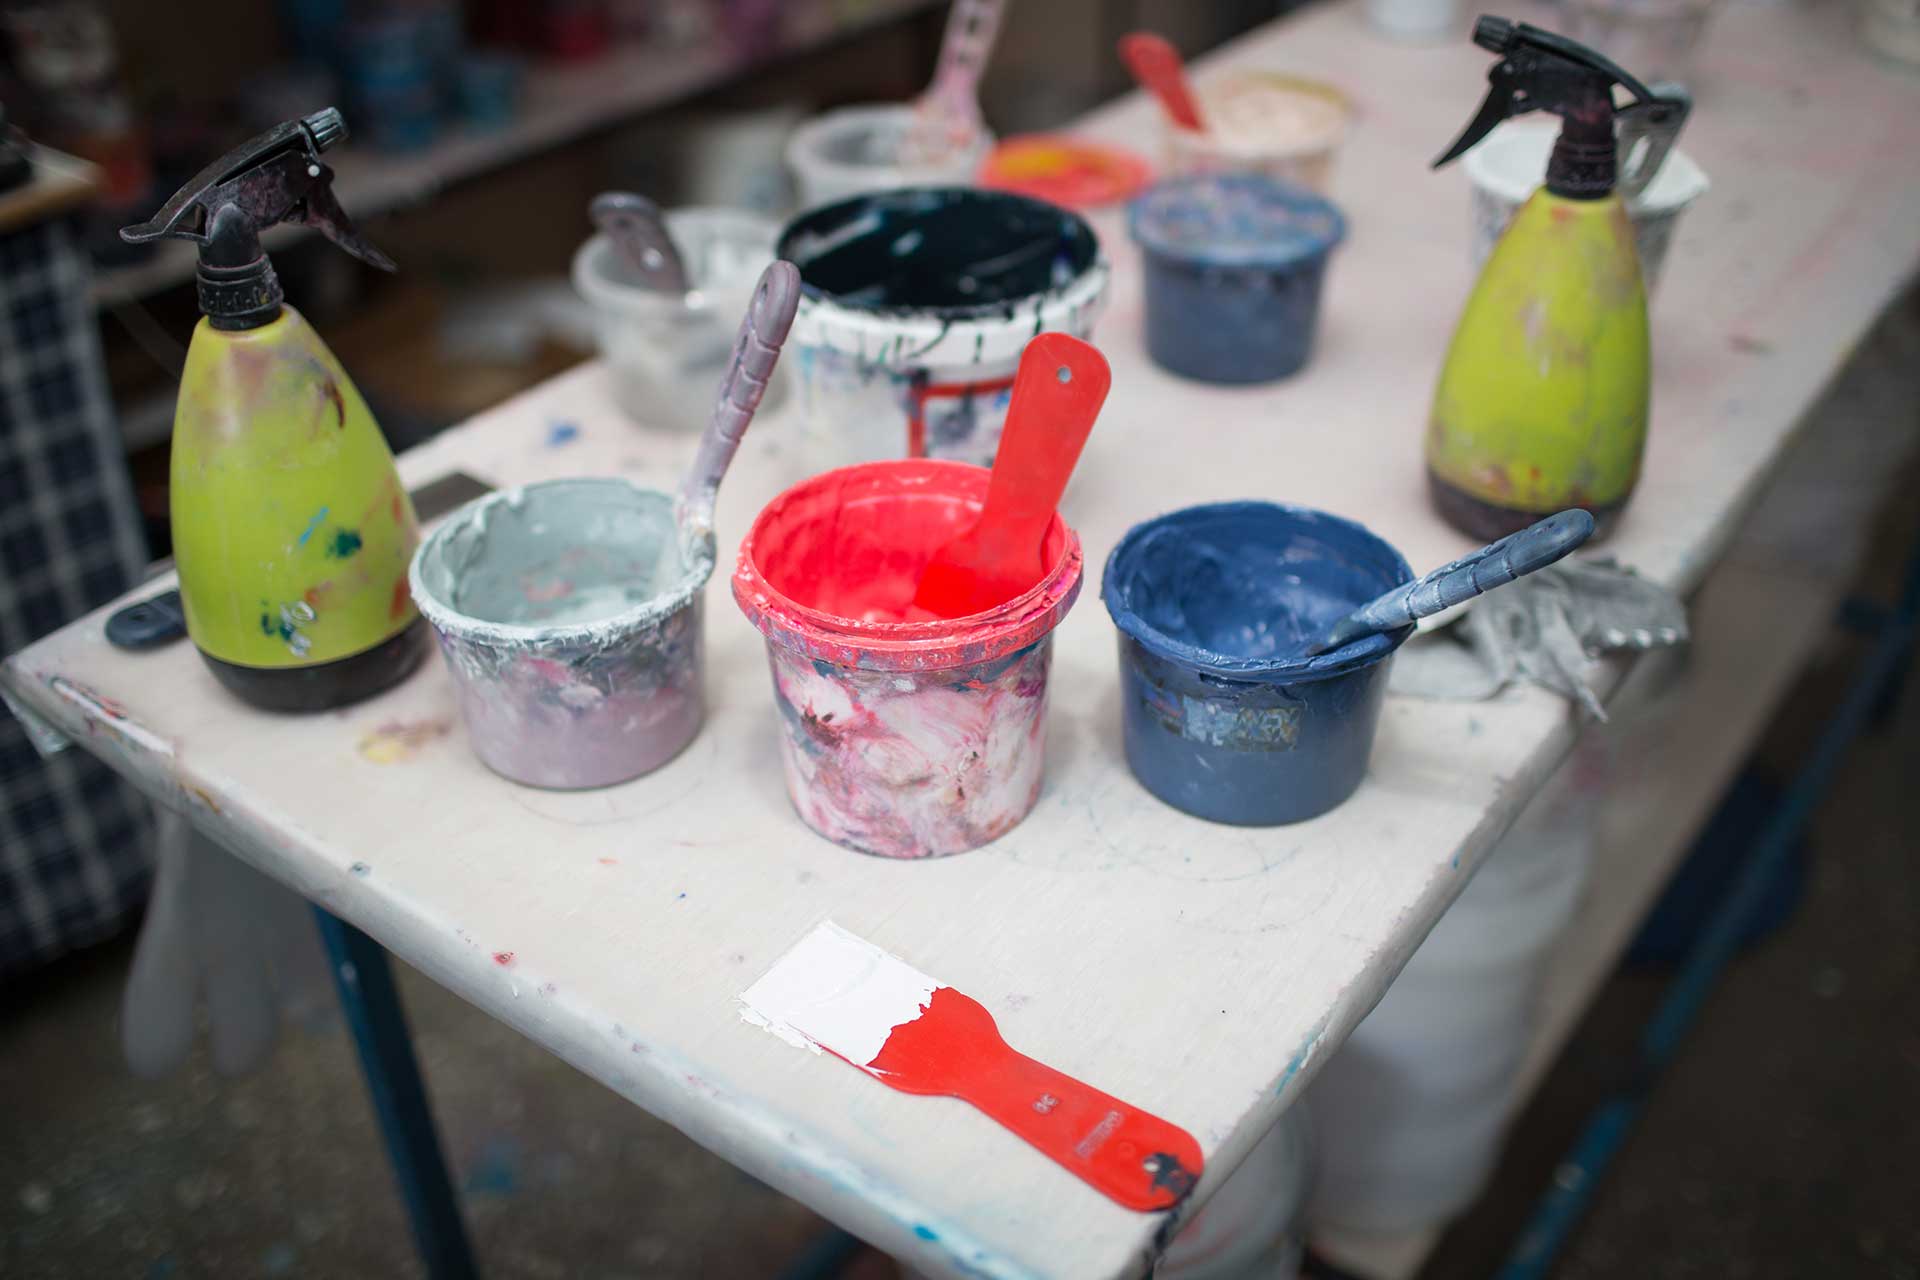
When it comes to selecting paint for plasterboard, quality matters more than you realize. Check to make sure you are using a high-grade interior paint that suits your desired finish – matte, eggshell, or semi-gloss. Matte finishes are great for hiding surface imperfections, while semi-gloss can add a subtle sheen and is easier to clean.
Water-based acrylic paints are typically the best choice for plasterboard. They dry quickly, have low odor, and are easy to clean up. However, if you’re painting in high-moisture areas like kitchens or bathrooms, you want to look for a quality paint with added mold resistance.
The Painting Process
With preparation complete and materials at hand, it’s time to start painting. No matter how tempting it might be to start in the middle you want to start by cutting in around the edges of the wall with a brush. Once all of the edges are cut in you can use a roller for the main surface areas. You want to apply thin, even coats, allowing each to dry completely before adding another. Most plasterboard paint jobs will require at least two coats for optimal coverage and durability.
To avoid any lap marks when using a roller, you must maintain a wet edge and work in manageable sections. For the best results, always paint from top to bottom in overlapping W or M shaped strokes, smoothing out each section before moving on to the next one.
Final Touches and Maintenance
Once the final coat is dry, inspect your work in good lighting. Use a brush or roller to touch up any missed spots or imperfections. To keep your newly painted plasterboard looking nice, avoid scrubbing the surface too harshly when cleaning. You also want to address any scuffs or marks promptly to keep your walls looking fresh.
With proper preparation and technique, painting plasterboard can be a rewarding DIY project that dramatically enhances your living space. The key to painting plasterboard like a pro is patience. By taking the time to prepare the surface and carefully applying the paint you will have a professional-looking finish that will last for years to come.
